


How to use the built-in system utilities SFC and DISM to scan, detect, and fix errors in the MS Windows operating system:
During the operation of the MS Windows operating system, various errors or failures may occur. This can happen, for example, when installing drivers, system updates, or when the system is incorrectly terminated, for example, during a power outage. The user may notice these errors explicitly, for example, when system updates refuse to install or some built-in add-ons stop working, such as Windows Spotlight. However, sometimes errors can be implicit and the user may not notice them, but they are already present in the system.
To correct these errors, developers have built into the MS Windows operating system system utilities
SFC (System File Checker) and DISM (Deployment Image Servicing and Management). These utilities help to scan, detect and correct system errors. To simplify working with these system utilities, we suggest using the
WinTools.one program. This program contains the most important functions of calling these system utilities to correct system errors of the
MS Windows operating system. Using WinTools.one can significantly simplify the process of detecting and correcting system errors, improving the stability and performance of your system.
It is recommended to periodically run SFC and
DISM to scan and search for errors, even if they are not explicitly visible. This will help keep your system in optimal condition and prevent possible problems in the future. Remember, regular maintenance of your system is the key to its long and efficient operation.
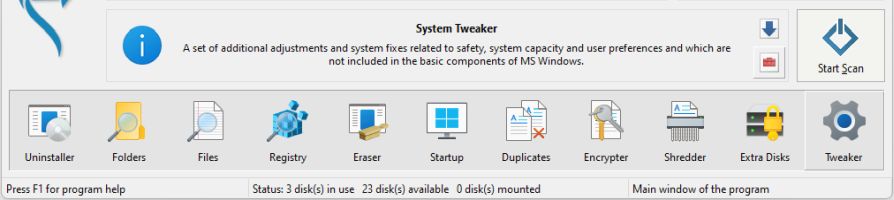
1. To simplify scanning, searching and fixing errors, launch the WinTools.one program by double-clicking on the
WinTools.one Professional shortcut on the desktop. Wait for the program to fully load. In the menu located at the bottom of the main program window, select the
‘System Tweaker’ tool by clicking the ‘Tweaker’ button in the menu.
2. In the ‘System Tweaker’ tool, select the ‘System Fixer’ tab. Here we have selected the most necessary and useful functions of the built-in utilities
SFC and DISM. Now you do not need to remember how and with which keys to run these utilities to scan and fix system errors of
MS Windows.
Before starting the error correction process, make sure you know which operating system you have installed. If you have the
MS Windows 8/10/11 operating system or newer installed, you should first run the
DISM utility, and then the SFC utility. If you have older versions of
MS Windows installed, first run the SFC utility, then
DISM.
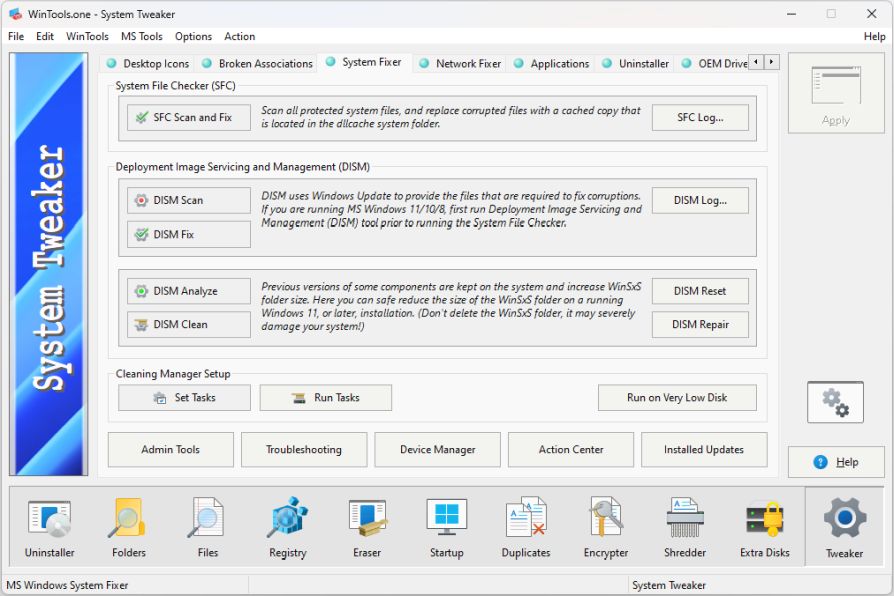
3. In our case, the MS Windows 11 operating system is installed, so we first use the DISM utility. To start, we will analyze the system. Press the ‘Dism Scan’ button and in the dialog box that appears, confirm your action by pressing the ‘Yes’ button. In the console window that appears, you will see the process of scanning and analyzing the MS Windows operating system using the DISM utility. Be sure to wait for the analysis process to complete and do not close the window.

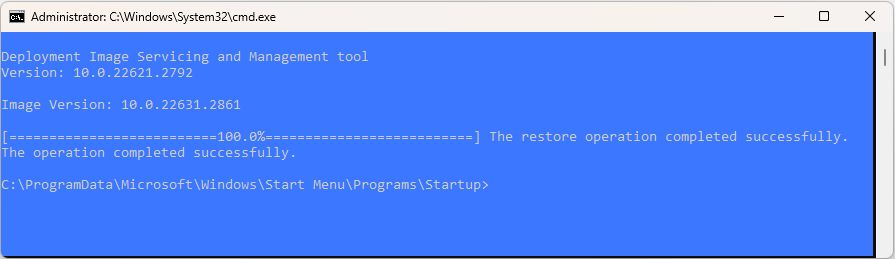
4. After the analysis process is complete, if errors were found, you can proceed to the error correction process. To do this, press the
‘Dism Fix’ button and in the dialog box that appears, confirm your action by pressing the
‘Yes’ button. Then a console window will appear with information about the progress of correcting errors of the
MS Windows operating system using the DISM utility. Be sure to wait for the correction process to complete and do not close the window.
Please note: you can skip the preliminary system analysis process with the
DISM utility and immediately proceed to error correction by pressing the
‘Dism Fix’ button. If the DISM utility detects errors, it will fix them and notify you about it.
5. After completing the error correction process with the DISM utility, we move on to correcting errors with the SFC utility. To do this, press the ‘SFC Scan and Fix’ button and in the dialog box that appears, confirm your action by pressing the ‘Yes’ button. Then the process of scanning and correcting errors with the SFC utility will begin. The console window that appears will display the scanning and correction process. Do not close the window during the operation of the utility and be sure to wait for the scanning and correction of errors to complete.
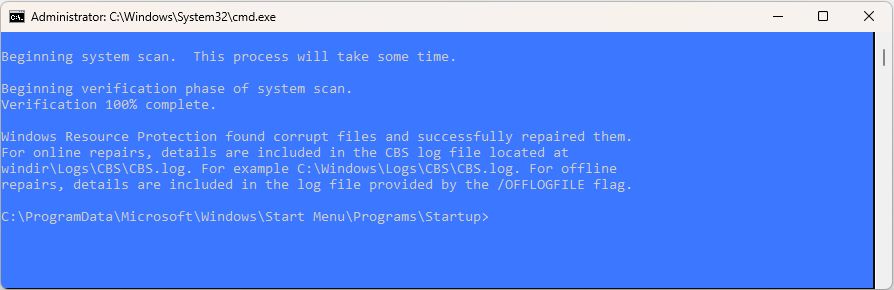
In the example above, the SFC utility found and corrected errors in the
MS Windows operating system. To view the SFC utility operation log, press the
‘SFC Log…’ button. To view the DISM utility operation log, press the
‘DISM Log…’ button.
Recommendation: Carry out regular scanning and error correction with the
SFC and DISM utilities, even if no explicit errors are detected. This will help keep your system in optimal condition and prevent possible problems in the future. You can schedule these scans, for example, once a month, to ensure that your system always operates without failures. Remember, regular maintenance of your system is the key to its long and efficient operation.